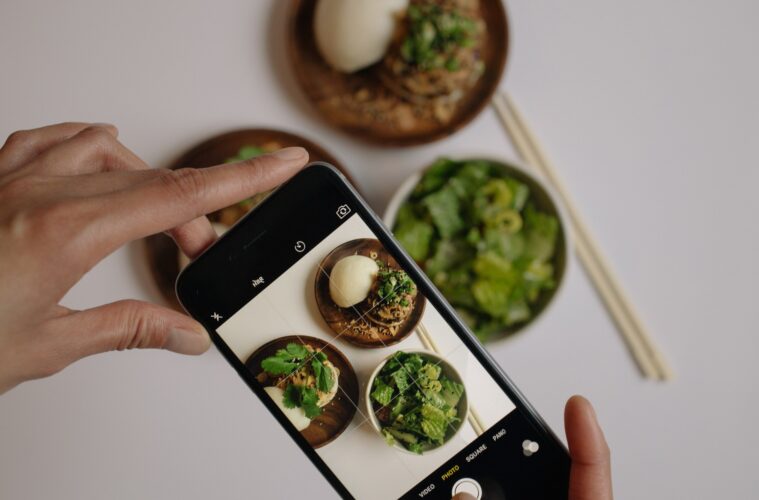
Food photography is a specialised genre of photography that focuses on capturing images of food in a way that makes it look appetising and appealing to the viewer. Whether you are a professional food photographer or just an amateur foodie, there are certain techniques and tips that can help you take stunning food photographs.
In this article, we will explore the basics of food photography, including the equipment you need, the principles of composition, lighting, and editing. We will also look at some common mistakes that beginner food photographers make and how to avoid them.
Equipment for Food Photography
One of the great things about food photography is that you don’t necessarily need expensive equipment to get started. A good camera and lens, along with some basic accessories, can go a long way in capturing great food photographs.
Camera: While you can use any camera to take food photographs, a DSLR or mirrorless camera with a high-resolution sensor is ideal. This will allow you to capture fine details and produce high-quality images that can be printed at a larger size.
Lens: A good lens for food photography is a prime lens with a wide aperture, such as a 50mm f/1.8 or 35mm f/1.4. These lenses allow you to create a shallow depth of field, which will blur the background and make the food stand out.
Tripod: Using a tripod will help you keep your camera steady and allow you to take long exposure shots or multiple shots for focus stacking.
Accessories: Other accessories that can be useful for food photography include a remote shutter release, a reflector, and a diffuser.
Composition for Food Photography
Composition is an essential element of any photograph, and food photography is no exception. Here are some basic principles of composition to keep in mind when taking food photographs:
Rule of thirds: The rule of thirds is a guideline that suggests dividing the frame into thirds both horizontally and vertically and placing the subject at one of the intersections.
Leading lines: Leading lines can be used to draw the viewer’s eye towards the food. For example, you can use the lines of a tablecloth or utensils to lead the eye towards the food.
Colour contrast: Contrasting colours can make the food stand out and make the photograph more visually appealing.
Negative space: Negative space is the empty space around the subject, and it can be used to create a sense of balance and harmony in the composition.
Lighting for Food Photography
Lighting is one of the most critical elements of food photography. Good lighting can make the food look fresh, while poor lighting can make it look unappetising. Here are some tips for lighting food photographs:
Natural light: Natural light is ideal for food photography. Position your food near a window or shoot outside during the golden hour for soft, diffused light.
Artificial light: If you need to use artificial light, use a softbox or a diffuser to create soft, diffused light that will mimic natural light.
Avoid harsh shadows: Harsh shadows can make the food look unappetising. Use a reflector or diffuser to soften the shadows.
Editing for Food Photography
Editing is the final step in the food photography process. Here are some editing tips to help you enhance your food photographs:
Adjust white balance: Adjusting the white balance can help correct any colour casts caused by the lighting.
Adjust exposure: Adjusting the exposure can help bring out details in the highlights and shadows.
Sharpen the image: Sharpening the image can help bring out the details in the food.
Adjust saturation and vibrance: Adjusting the saturation and vibrance can help enhance the colours in the food.
Common Mistakes to Avoid in Food Photography
Here are some common mistakes that beginner food photographers make and how to avoid them:
Over-styling the food: It can be tempting to go overboard with the styling and props, but too much can distract from the food itself. Keep it simple and let the food be the star of the photograph.
Using artificial ingredients: Using artificial ingredients, such as fake ice cream or fake steam, can make the food look fake and unappetising. Use real ingredients and work quickly to capture the shot before the food begins to look unappetising.
Ignoring the background: The background can make or break a food photograph. Make sure the background complements the food and doesn’t detract from it. A simple, neutral background is often the best choice.
Not paying attention to details: Details matter in food photography. Make sure the food is clean, fresh, and free of blemishes. Pay attention to the placement of utensils, napkins, and other props in the photograph.
Conclusion
Food photography is a specialised genre of photography that requires attention to detail, composition, lighting, and editing. Whether you are a professional food photographer or just starting, these tips and techniques can help you take stunning food photographs that will make your viewers hungry. Remember to keep it simple, pay attention to details, and let the food be the star of the photograph. With practice and patience, you can master the art of food photography and capture mouth-watering images that will make your viewers crave for more.

